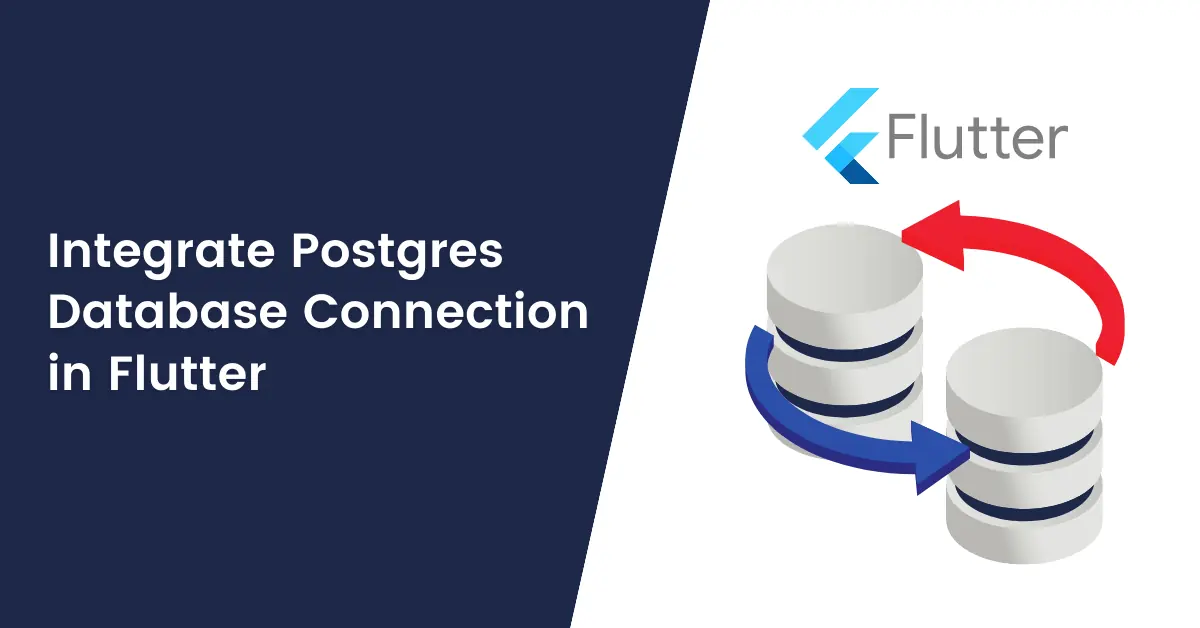
Integrate Postgres Database Connection in Flutter
Introduction to Flutter Postgres Database Connection
Hello, Welcome to my other blog which is on flutter postgres database connection. As we all know Flutter brought some revolutionary changes to mobile application development as well as web development and so on. I am going to share another revolutionary thing that Flutter has come up with.
As a mobile application developer, if we think about having our database on the cloud and accessing data from cloud databases like Postgres or MySQL, the first thing on our mind will be having RestAPIs to fetch the data from a database or to store the data on the database. But this will lead us to have a dependency on multiple levels like availability of Resources, Selecting language on which we can develop RestAPIs, and getting the exact data we wanted on the Mobile applications.
But have you ever thought about doing all this stuff of Fetching / Storing data directly into the Database just like working with Local databases without having RestAPIs? If not, it’s time to think about it and implement those things on Flutter.
Yeah! You read it right, Flutter gives you the ability to integrate Postgres Database connection directly into your application and you can implement CRUD operations directly on the Database. That’s cool, right? Let’s understand how we can do that with Flutter.

Note: This feature currently works on mobile applications only. For Flutter Web, it’s not working due to the Unavailability of proper packages to handle Web parts.
I have read a beautiful sentence somewhere: “Inspiration does exist, but it must find you working.” – Pablo Picasso. So let’s get started with the implementation.
Step 1
Add postgres package dependency to pubspec.yaml file. dependencies:
flutter:
  sdk: flutter
#Posgres Database
postgres: ^2.4.3
Step 2
Create instance of PostgreSQLConnection class with parameters. Here, we need to pass some database parameters like host where the database is hosted, port of the server where the database is hosted, database name, username & password to access the database.
var databaseConnection = PostgreSQLConnection(
    databaseHost, databasePort, databaseName,
    queryTimeoutInSeconds: 3600,
    timeoutInSeconds: 3600,
    username: username,
    password: password);
Step 3
Our database connection object is ready. Now we need to open the database to make it available to use. We can use open() of the database connection object to connect to the database. The open() returns a value in Future, so you can use async…await concept of then() callback to have complete access to the object.
initDatabaseConnection() async {
  databaseConnection.open().then((value) {
    debugPrint("Database Connected!");
  });
}
Step 4
Our database connection object is ready and the database is connected now. We can use this object to execute queries to perform CRUD operations on the database. There are many variables and functions available in the PostgreSQLConnection which we can use to do different operations.
databaseConnection.isClosed – By this variable, we can check whether the database is opened or closed. We need to execute a query when the database is in an open state.
databaseConnection.mappedResultsQuery – Using this function, we can execute SQL queries and get results in Map object so that parsing can be easy. There is one parameter named substitutionValues which we can use to pass dynamic data which we need to pass in the query. i.e. If we need to pass a user’s ID in a query, we can use substitutionValues to pass that.
List<Map<String, Map<String, dynamic>>> result = await databaseConnection
          .mappedResultsQuery("SELECT * FROM $tableUsers WHERE email = @aEmail",
              substitutionValues: {
            "aEmail": email,
          });
Step 5
Parsing the result and using the data in application. We can create a Model class with the parameters that we need to use in the application so that parsing can be easy and we can easily use the data. Here in the example, I have created a model class named Users which will store the data of users fetched from the database.
List<Map<String, Map<String, dynamic>>> result = await databaseConnection
    .mappedResultsQuery("SELECT * FROM $tableUsers WHERE email = @aEmail",
         substitutionValues: {
       "aEmail": email,
       });

  if (result.length == 1) {
     for (var element in result) {
       var _users = element.values.toList();
         Users user = Users.fromJson(_users[0]);
     }
   }
Step 6
Put all this code in a function and return the desired data to the screen where you want to use it. Enjoy!
So that’s it. Just like this example that we have used to Fetch data from a database we can use queries like update, create, insert, etc and work with the different kinds of tasks.

Conclusion
That is all we have in the Integrate Postgres Database Connection in Flutter. By doing this we are actually taking all the dependencies on our hands in terms of being a Flutter developer. We are removing the time & dependencies of a back-end developer for creating RestAPI for communicating with the Database. But in addition to that, we need to understand all the concepts of the Database & Server-side, what kind of Errors can be faced, and how to handle the different responses we are getting from the queries we execute on the database.
I hope you have enjoyed reading the blog and learned something new in Flutter. Thank You!

FAQs
No, unfortunately, this feature is available only on mobile applications as of now.
Flutter supports multiple databases like Postgres, MySQL, MongoDB, DynamoDB, etc. But the package here we have used can only be used for Postgres or MySQL. For MongoDB or DynamoDB we have to use a different package.


